- Camera image: After entering the meeting room, if all participants have activated camera transmission, your camera image in meeting mode appears as a tile on the left-hand side of the screen next to the camera images of all other meeting participants. However, the other participants can only see and hear you once the meeting has started and you have activated camera or sound transmission.
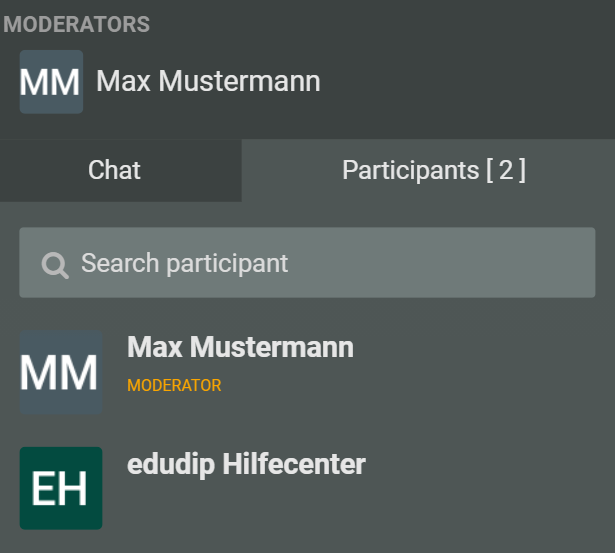
- The participant list: The participant list in the meeting room is on the right-hand side of the screen. It provides information about who and how many participants are in your meeting. If you would like to make a participant a co-moderator, select the small crown in the field next to the participant.
Participants in the participant list are listed alphabetically by their first name. Participants who gave a hand signal automatically move up and appear below the co-moderators until the hand signal is removed.
Furthermore, it is possible to remove participants from the meeting via the “x” symbol to the right of the name. Please note that the removed participant can no longer join the current event.
- The chat: The chat is on the right side of the meeting room next to the participant list. Here all participants have the opportunity to communicate in writing by entering their message in the given field. Hosts and co-hosts have the option to mark chat messages as done. This marking can be removed again if necessary. In addition, messages from hosts and co-hosts can also be deleted.
- Settings: Here you get to the settings. The organiser can enter the meeting room in advance to prepare a presentation or adjust every other setting. In this case the main moderator should deactivate the automatic start of the meeting.
- Show name with laser pointer: The laser pointer is an extended index finger for the moderator. When this function is activated, a clearly recognisable red dot appears instead of your mouse. With the laser pointer you are able to highlight important areas or information on your slides in order to underline what was said in your presentation.
- Selecting and testing the camera and microphone: By clicking on the tool symbol at the bottom of the screen, you can select the desired camera and microphone, test the connection between the two devices and adjust the volume.
- Clear chat on start: You have the option to clear the chat history manually. To do this, select the box next to “Delete chat at start” in the settings of the meeting room. If you end the meeting using the “End meeting” button at the top of the meeting room and then restart it using the button, the previous chat history in the meeting room will be erased.
- Auto-focus active speaker: When this function is activated, the video image of the active speaker is automatically enlarged in camera mode. This allows participants to concentrate on the active speaker.
- Allow audio in screen sharing (experimental): If this setting is activated, you are able to allow the transmission of your system during screen sharing. This function is currently only supported by Google Chrome and can be requested through our customer support.
- Remove hand signals: With the hand signals, participants have the opportunity to give quick feedback or to draw attention to themselves. If necessary, you are able to activate this function so that hand signals disappear automatically for all participants after a few seconds.
- Desktop notifications: Activate this feature if you want to receive notifications that will be displayed when the browser is running in the background during the meeting.
–> continue with Features in the meeting room